Ok, back to the stereo. Another feature of the Retrosound, is that the faceplate/control panel, can be removed from the main unit and remote mounted. I elected to do this because of likely interference with other parts under the dash, and just to try to keep the dash area open for other things (AC ducts have to go somewhere).
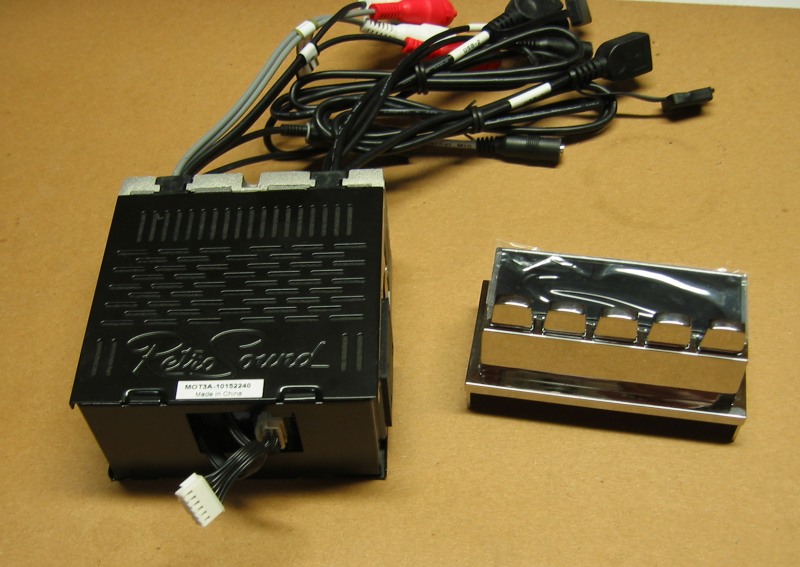
The faceplate is small and light, and along with two knobs, is all that I need to mount in the dash opening. So all I need now is a frame to mount them in.
|
|
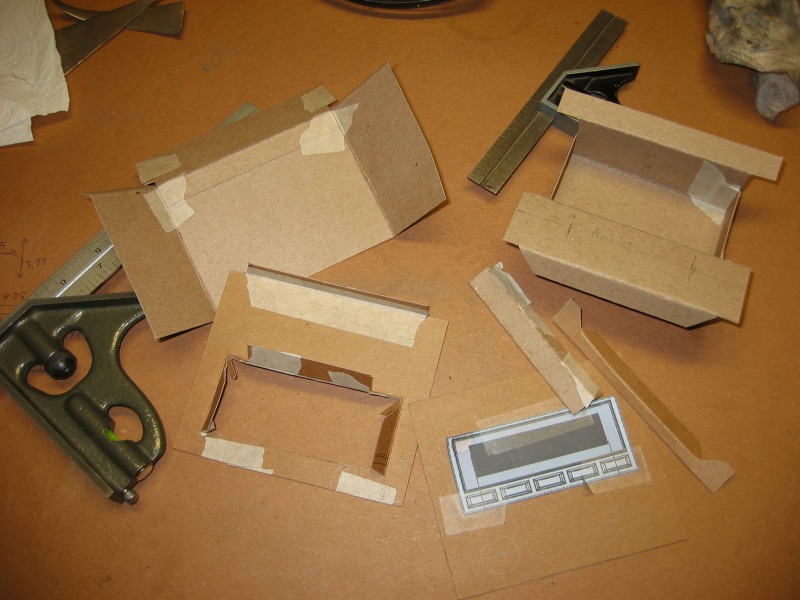
This was harder than I thought it would be. I spent the next two weeks on various cardboard models before I finally settled on a plan.
I have a lot of different ways to cut metal, but I often find myself going back to my oldest tools: hack saws and coping saws. They are hard to beat for accuracy and narrow cut width. I used 22 gage sheet metal for this. It is easy to work with and still plenty strong enough for what I am doing.
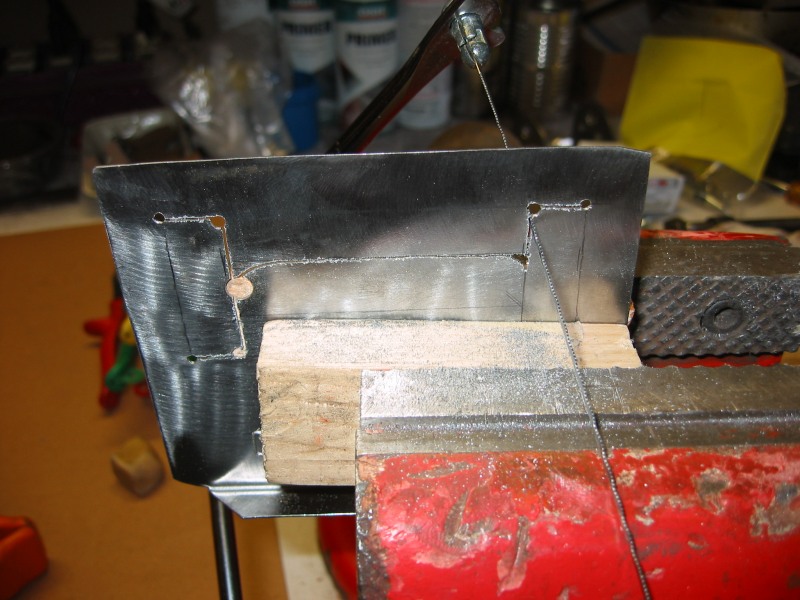
This metal is thin enough I can start the bends with my fingers, and finish up with a hammer.
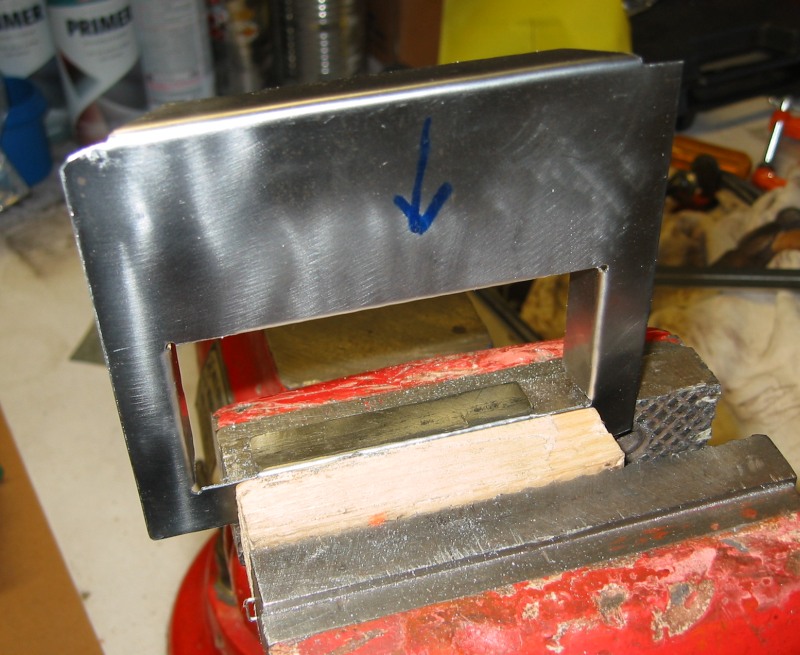
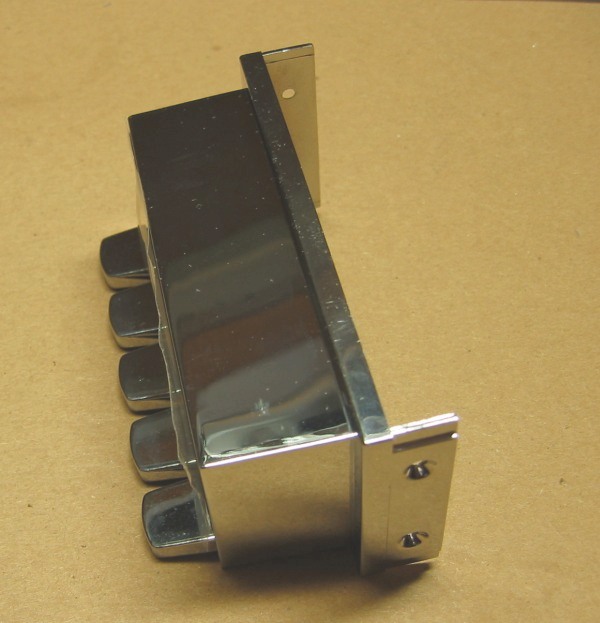
I welded some tabs on, which make it a fairly complex piece
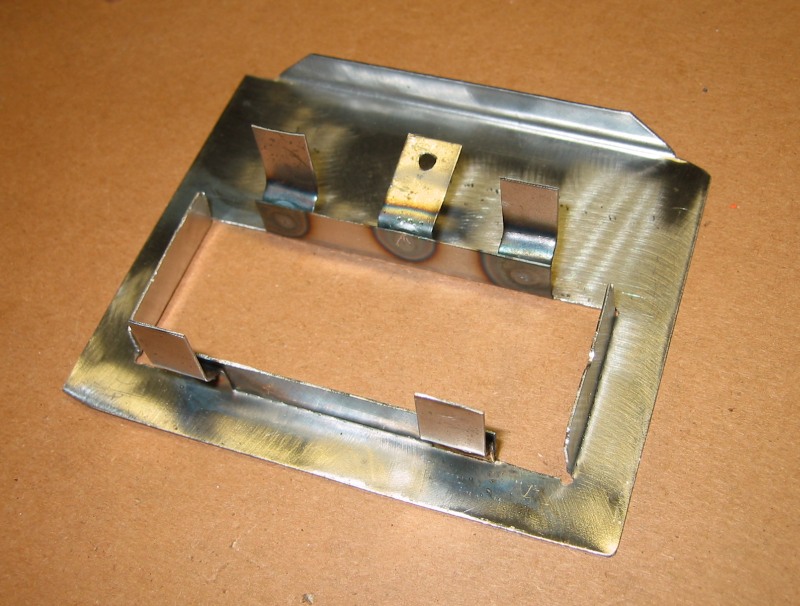
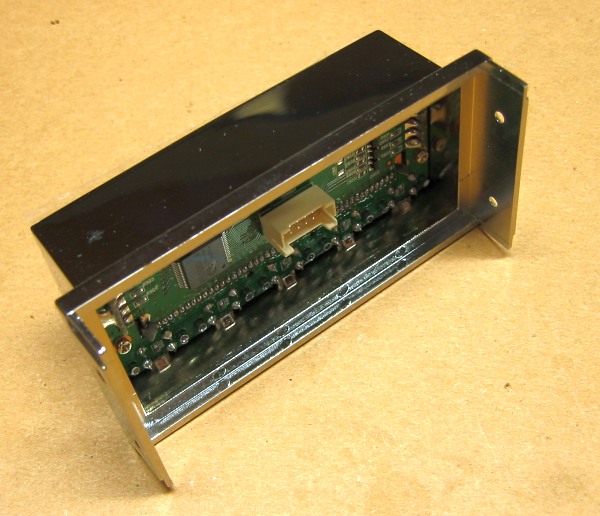
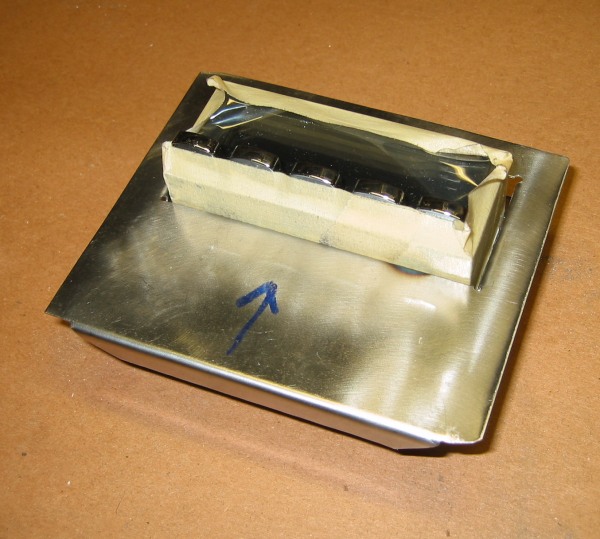
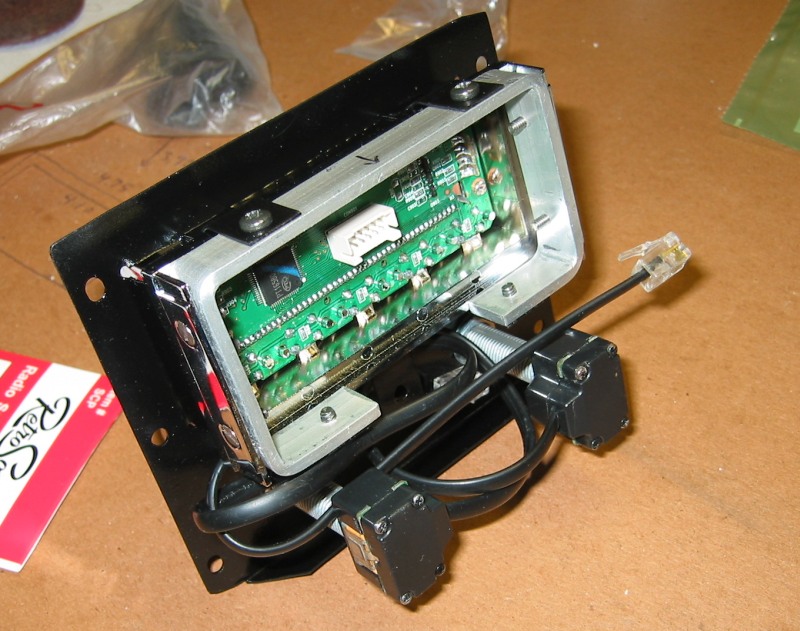
The Retrosound faceplate fits into the frame plate like this. The tabs will be used to attach the faceplate to the frame. Masking tape around the faceplate is to prevent scratching the chrome finish.
 |
 |
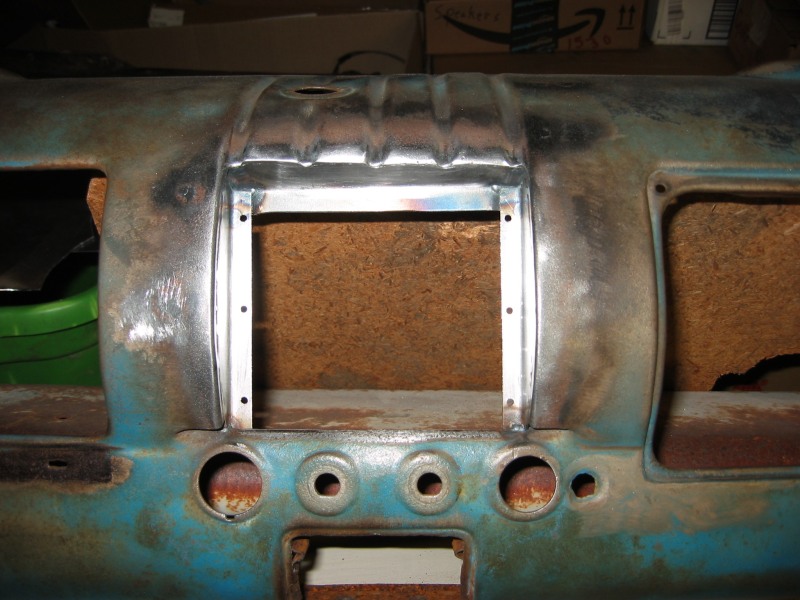
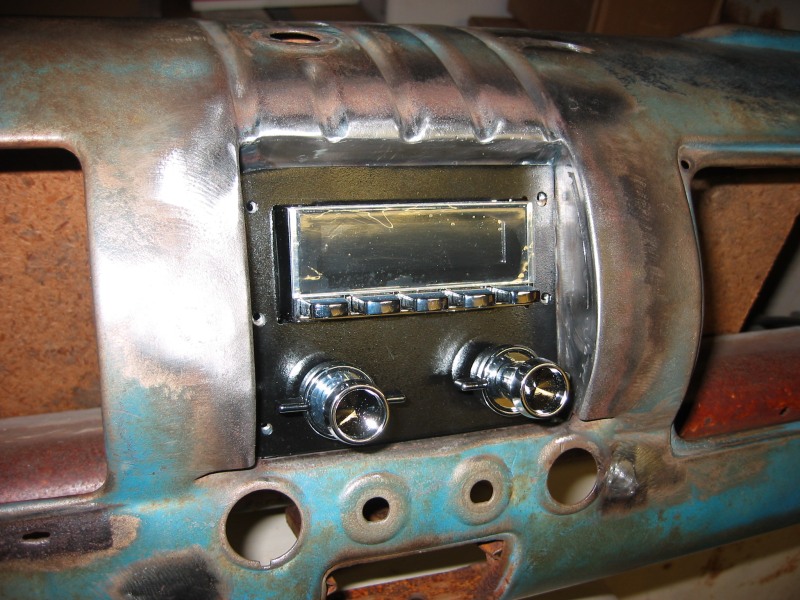
The frame plate fits in to the dash like this, and will be screwed in from the front.
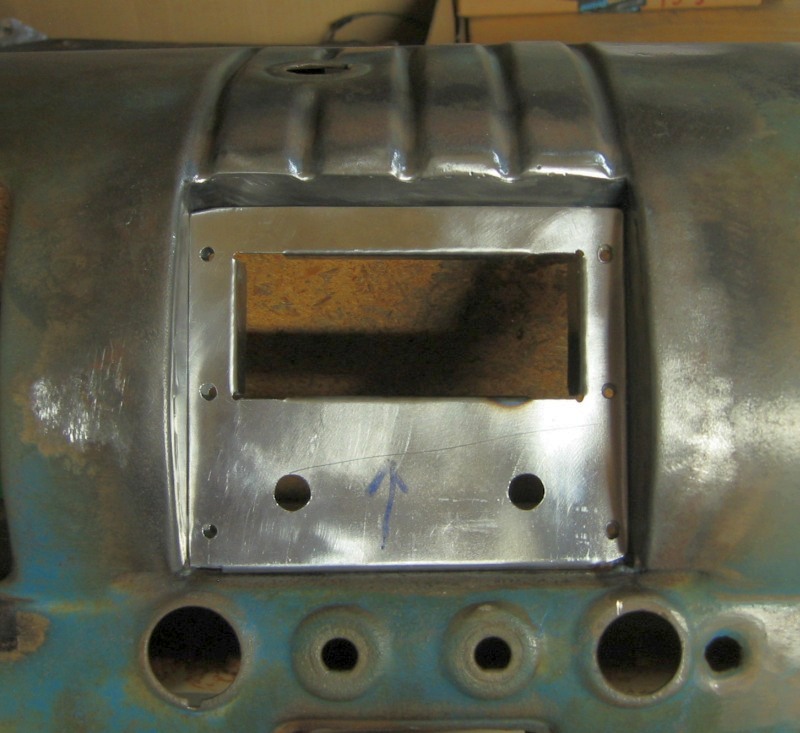
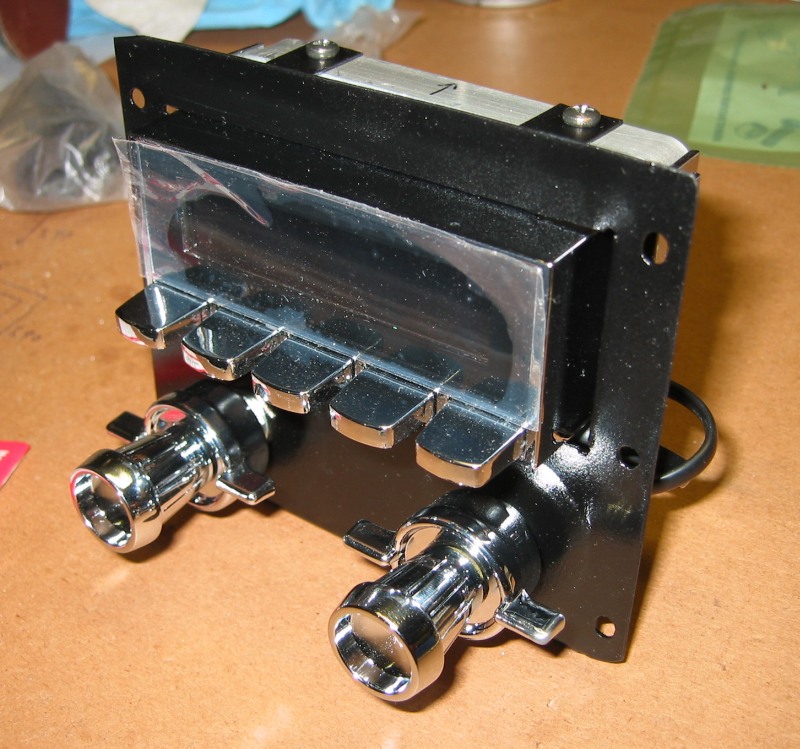
After painting the frame black and mounting the face plate and knobs, we have a nice little stereo unit.
That will drop into the dash opening from the front.
And make a pretty slick setup.
I still plan to do a nice faceplate for this; a cosmetic piece that will cover the black frame and have labeling for the knobs, etc. But that will be a future project. For now, on to other things.
| << Previous | Back to Menu | Next >> |